Requirements
- 1 skein Caron Watercolours thread
(This sample was worked in color 131 Banana)
- 12 inch
square top fabric. This can be silk, satin, cotton, lawn or calico
- 12 inch
square fine lawn or muslin
- 12 inch square wadding
- 8 inch square backing fabric. This may be the same as the top fabric or plain cotton
- 1¾ yds x 1 inch wide lace
- 2 x 1 yd lengths of ¼ inch wide ribbon
- 1 packet Mill Hill Seed Beads
- Size 22 Chenille needle
- Quilting needle
- Quilting thread to match fabric
- Polyfill or similar to fill cushion
- 10 inch quilting or embroidery hoop
- Pattern (this is available as an Adobe PDF file or on our COLONIAL KNOW RING PILLOW PATTERN page) A 7 inch scale line is
included on the pattern, if re-scaling, using a photocopier/Xerox is necessary.
When printing out the PDF file, ensure that the 'shrink oversized pages to
paper size' is unchecked in the Print Dialog box (accessed via Ctrl-P).
Instructions
1) Center the top fabric over the pattern and trace all of the design on to
it using an artist’s watercolour pencil or marker of your choice. It is
suggested that you mark the position of the beads in a different colour pencil
to those for the knots to avoid confusion later!
2) Layer the muslin, wadding and marked top together and tack with a white
tacking thread. Place in a quilting or embroidery hoop.
3) Using the chenille needle and following the diagrams given, work all the
Colonial knots using one strand of Caron Watercolours thread where
indicated by open circles. Detailed instructions for creating colonial
notes can be found here.
4) Quilt (by hand or machine) the dotted lines.
5) Sew in the beads where indicated by filled circles. These may be quilted
or backstitched into position.
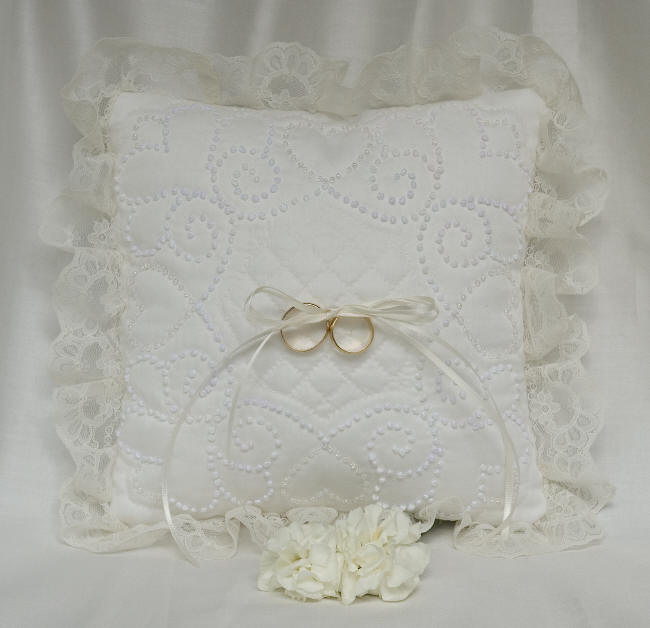
6) Secure the two ribbon lengths in the centre of the cushion and finish off
with a seed bead to hide the stitches. Tie the ribbons in a bow so that they
don’t get in the way.
7) Run a gathering thread along the inside edge of the whole length of lace
and ease this to fit around the cushion just outside the inner of the solid
lines around the pattern. Tack into position with the lace lying towards the
centre of the cushion.
8) With a rotary cutter, trim the cushion top to 8 inches square
9) With right sides together pin the cushion back to the finished cushion
front. Being careful to anchor the start and end points with backstitches,
machine stitch around the sides of the cushion to leave a 4-inch gap midway
along one side.
10) Turn the cushion right-side out and check that all the lace is secure.
Turn the remaining seam allowances to the inside and finger press in place.
11) Stuff the cushion with Polyfill or similar and then slip stitch the
4-inch gap closed.
12) Attach rings using the ribbon strands in the centre of the cushion.
© 2006, Sandie Lush